It is not a quick process, but it is so worth it. Once you lift that camp oven lid and see your loaf of bread fully cooked, nicely browned, it is excitement beyond words.
 |
| Freshly baked bread straight out of the camp oven |
But then there is another wait, waiting again while the bread cools enough so that you can slice it, but not to long, because the best way to eat the bread is still slightly warm, with lashings of butter.
Our favourite way of eating it, is warm with butter and golden syrup, it doesn't get more Australian than that, please give it a try, I promise you that memory will last with you throughout your life.
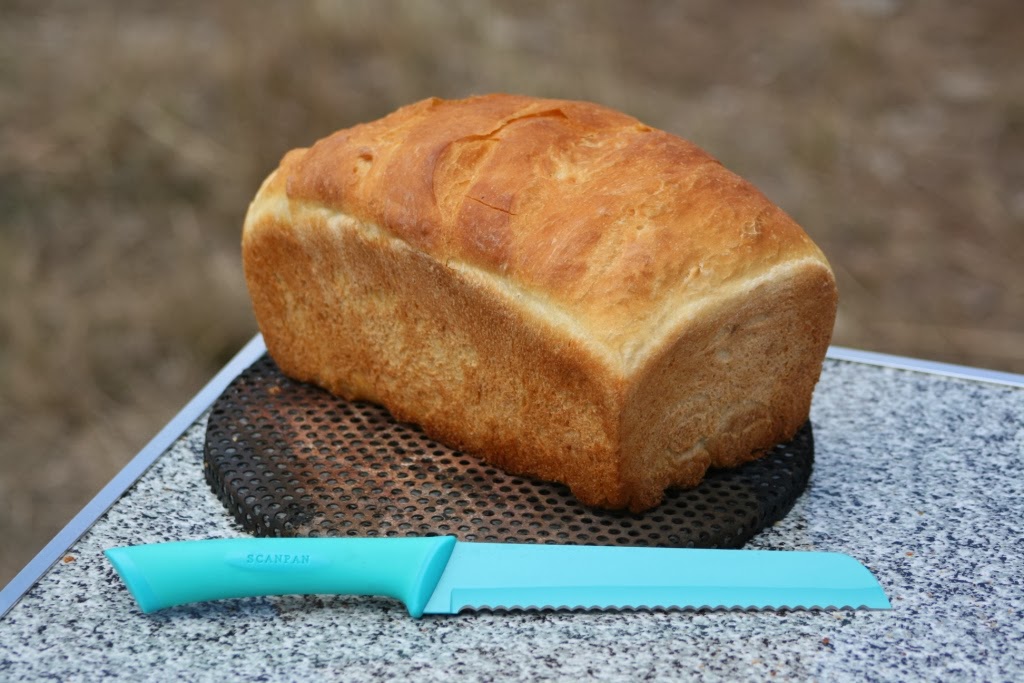 |
| Ready to be sliced |
Recipe
For this mix I just used a crusty white bread mix single 1 loaf serve. We love to use the Laucke brand, as they always turn out well and they use beautiful Australian wheat to make their flour. When we just go camping for a few days we just buy the single loaf mixes, but if it is for a longer trip we buy the bulk mix bags and store it in an air tight container.
I followed the instructions on the packet in this recipe. If making my own from bread flour, I always add a teaspoon each of salt and sugar and about a tablespoon of olive oil to the mix and then the recommended water and yeast. Once you have baked a few loaves of bread, you start to get the feel for how it should feel and how much water to add.
Directions
- Start by lighting your fire, we need some nice coals to bake our bread. Hard wood obviously makes the hotter more consistent coals.
- Empty bread mix into a large bowl and add in the yeast and most of the water (leaving behind a little as we can add this later if needed).
- Mix to combine and start to bring the dough together, adding more water or flour as necessary.
- Knead the dough until it becomes elastic and springs back when pressed with your finger (I find this takes me about 10 minutes of hand kneading)
- I just leave my dough in the bowl and cover the bowl with either plastic wrap or a tea towel and place in a warm spot for about 30-60 minutes depending on the temperature (placing the bowl in the 4WD can be a good option as a warm place).
- Once the dough has proved, knock it back and then knead into the shape you require and place in your bread tin.
- Leave to rise for another 20-30 minutes.
- While the bread is on its final rise, pre-heat the camp oven with a trivet in the bottom, over the fire/coals.
- When the bread is ready to bake, place the bread tin in the pre-heated camp oven on the trivet and place the lid on the camp oven.
- Place the oven over about a shovel full of coals and also add a shovel full of coals to the lid of the oven.
- Bake for about 40-50 minutes, checking at about 35 minutes to check progress and if you need to add or replenish the coals.
- To test if the bread is cooked, tap it to see if it sounds hollow, when it sounds hollow it is cooked.
- Remove the bread from the oven and remove from the bread tin and let cool on a cooling rack or trivet until cool enough to slice, or until you can't wait any longer to try it!
This recipe was also cooked in our Furphy camp oven.
Posted by Jess
No comments:
Post a Comment